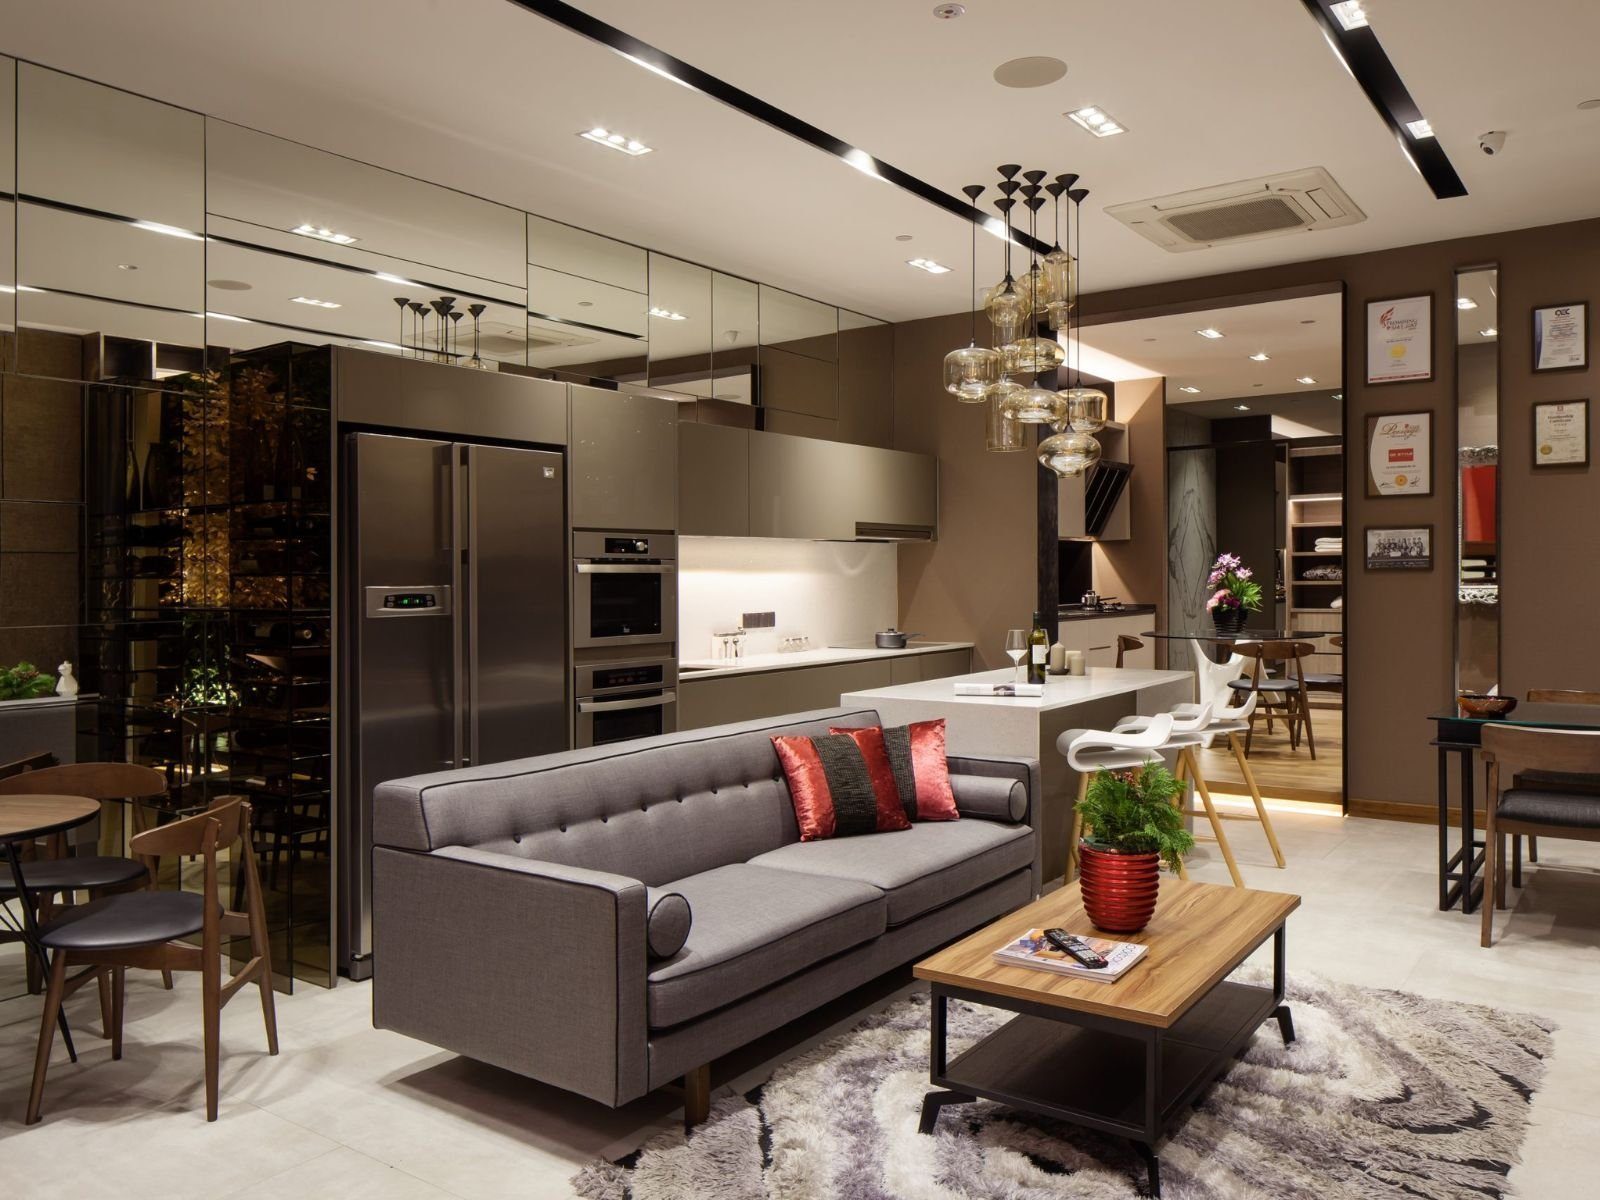
Renovating an HDB flat in Singapore for the first time can feel overwhelming. There are HDB rules to follow, contractors to vet, a design brief to nail, and a budget to manage — all while coordinating around your own schedule and, if it’s a resale flat, the previous owner’s move-out timeline.
This complete HDB renovation checklist for 2026 walks you through every step in the right order, so nothing falls through the cracks.
Before You Begin: Things to Sort Out First
✅ 1. Determine Your Budget
Before contacting a single contractor, set a realistic budget range. For 2026, typical Singapore HDB renovation costs are:
- 3-Room BTO: $35,000 – $65,000
- 4-Room BTO: $45,000 – $80,000
- 5-Room BTO: $60,000 – $100,000
- 3-Room resale: $50,000 – $80,000 (often more due to hacking of old finishes)
- 4-Room resale: $60,000 – $95,000
- 5-Room resale: $75,000 – $120,000
Add a 10–15% contingency buffer for unexpected costs. Renovation loans are available through major Singapore banks (DBS, OCBC, UOB) at current rates — check with your bank if needed.
✅ 2. Know Your HDB Renovation Rules
HDB renovation is governed by HDB’s Renovation Guidelines. Key rules to know before you start:
- You must engage a HDB-registered renovation contractor for structural works
- A Renovation Permit is required for: hacking walls, flooring installation, window replacement, plumbing works, and electrical main switch changes
- Permitted renovation hours: Monday–Saturday 9am–5pm (no Sunday or public holiday noisy works)
- 30-day notice rule: for BTO flats, you must wait 30 days after key collection before major renovation can start
- Wet works in bathrooms require a waterproofing membrane replacement under HDB rules
✅ 3. Measure and Photograph Your Flat
Before meeting contractors, take detailed measurements and photographs of every room. Measure doorway widths (critical for furniture delivery), ceiling heights, window sizes, and the exact dimensions of each room. These photos and measurements will save time at every contractor meeting.
Stage 1: Planning and Contractor Selection (6–10 Weeks Before Works Start)
✅ 4. Define Your Design Brief
Create a mood board with your preferred style (Japandi, Scandinavian, industrial, contemporary, etc.), colour palette, and reference images. Note your lifestyle priorities: home office needs, storage requirements, entertaining frequency, children’s or elderly family members’ needs.
✅ 5. Get 3 Quotations from Different Contractors
Never commit to the first quote. Get at least 3 detailed written quotations. A proper quotation should include:
- Itemised breakdown (carpentry, tiling, painting, electrical, plumbing separately)
- Material specifications (tile grade, cabinet material, paint brand)
- Payment terms and project timeline
- Warranty terms for workmanship
✅ 6. Verify the Contractor
Before signing any contract, verify:
- HDB registration status (check at hdb.gov.sg)
- Company UEN and ACRA registration (bizfile.acra.gov.sg)
- Google reviews and testimonials (look for patterns in both positive and negative reviews)
- Physical office or showroom (avoid contractors with no fixed address)
- Past project portfolio — ask for before-and-after photos
✅ 7. Sign the Renovation Contract
The CaseTrust-RCMA renovation contract (or equivalent) should clearly state:
- Total price and payment milestones (never pay 100% upfront)
- Detailed scope of works
- Project start and completion dates
- Defects liability period (minimum 12 months recommended)
- Variation order (VO) process for changes
Stage 2: Pre-Renovation Admin (4–6 Weeks Before)
✅ 8. Apply for HDB Renovation Permit
Your contractor submits the Renovation Permit application online via the HDB portal. This takes 3–7 working days to approve. Works requiring a permit cannot start before approval is received.
✅ 9. Notify Your Neighbours
HDB requires you to notify immediate neighbours (above, below, left, and right) at least 3 days before renovation works begin. Use the HDB notification template or write a simple note with your unit number, contractor name, and expected renovation period.
✅ 10. Finalise All Material Selections
Before works start, confirm every material choice:
- Floor and wall tiles: colour, size, finish
- Cabinet laminates: colour code, finish type (matte/gloss)
- Countertop material: quartz, solid surface, or laminate
- Sanitary fittings: toilet model, basin, shower set
- Lighting specifications: type, kelvin temperature (warm/cool white)
- Paint colours: brand and colour code
- Door and hardware finishes
Last-minute changes during renovation cause delays and are often charged as variation orders.
Stage 3: During Renovation (4–8 Weeks Typically)
✅ 11. Understand the Typical Renovation Sequence
Professional renovations follow a sequence to prevent damage to completed work:
- Hacking (demolition of old floors, walls, fixtures)
- Structural works (if any walls are being modified)
- Waterproofing (bathroom and kitchen wet areas)
- Electrical first fix (conduit and wiring)
- Plumbing first fix (pipes)
- Tiling (floor and wall tiles)
- Plastering and skim coat
- Carpentry fabrication and installation
- Painting (walls and ceilings)
- Electrical second fix (switches, sockets, lights)
- Sanitary fitting installation
- Final touches (door handles, accessories, touch-ups)
✅ 12. Visit the Site Regularly
Visit your flat at least twice a week during renovation. Take photos of work in progress. Flag concerns to your project manager early — issues caught mid-works are easier and cheaper to fix than post-completion.
✅ 13. Track Variation Orders
Any change from the original scope should be documented as a written Variation Order (VO) with the additional cost clearly stated before the work is done. Verbal agreements are not binding and lead to disputes.
Stage 4: Handover and Move-In
✅ 14. Conduct a Thorough Defects Check
Before final payment, walk through every room and check:
- Tile alignment and grouting (no hollow tiles — tap to check)
- Cabinet doors and drawers: alignment, soft-close function
- All electrical switches and sockets working
- All plumbing fixtures: no leaks, correct water pressure
- Paint finish: no drips, roller marks, or missed spots
- All doors opening and closing smoothly
- Sealant at tile-wall joints and countertop edges
✅ 15. Get the Contractor to Fix All Defects First
Don’t release the final payment until all defects are rectified to your satisfaction. A reputable contractor will arrange a defects rectification date and return to fix items before final handover.
✅ 16. Keep All Warranty Documents
Collect and file:
- Renovation contract and all VOs
- Appliance warranties and manuals
- Cabinet warranty from the contractor
- Waterproofing warranty certificate
- HDB renovation permit closeout (if required)
Get Help with Your HDB Renovation
Unique Interior Design Pte Ltd manages the full renovation process for HDB homeowners across Singapore — from design consultation and material selection through to site management and defects rectification. Our project managers keep you updated at every stage.
Contact us for a free, non-obligatory quotation. We cover all areas of Singapore.
Planning a project?
Get a free, no-obligation quote from the team that does the work.
Chat on WhatsApp